The most commonly used webserver in the world today is Apache. Used also from developers to create a php-mysql area on their machines, to test their work. In the Linux server world one of the most rock solid and stable distro is Centos, a free version of RedHat. This tutorial cover a basic part of Apache installation, Apache have a lot of options and configuration but most of the users use the basic, for specific configuration please refer to the official page of Apache. Let’s start. Open the Centos terminal and install two required package:
[code]yum install –y httpd mod_ssl[/code]
With the following command
[code]rpm -qa | grep http[/code]
verify that the package needed was installed correctly. Should display the following package or a similar one depending from the package version and if is Centos 32bit or 64bit
[code]httpd-tools-2.2.15-29.el6.centos.i686
httpd-2.2.15-29.el6.centos.i686[/code]
The same verification with the next
[code]rpm -qa | grep ssl[/code]
and will display the following package, depending from the package version and if is Centos 32bit or 64bit
[code]mod_ssl-2.2.15-29.el6.centos.i686
openssl-1.0.0-27.el6.i6[/code]
After checked the package are correctly installed start the apache service:
[code]service httpd start[/code]
And put Apache on start up with the following command:
[code]chkconfig httpd on[/code]
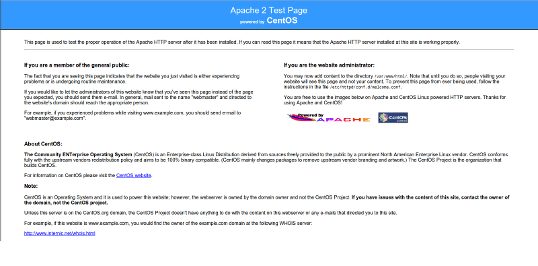
After that open the browser and write “localhost” , if you see display this page every thing is correctly installed
If you are in a local network and want to share you web via internal ip, you should disable the Centos firewall writing “setup” on terminal and go to the firewall option. Now better to install also phpmyadmin for easier work with mysql. Depending from the Centos version and also from the architecture write the following command:
[code] CentOS/RHEL 6, 32 Bit (i386):
# rpm -Uvh http://download.fedoraproject.org/pub/epel/6/i386/epel-release-6-8.noarch.rpm[/code]
[code]CentOS/RHEL 6, 64 Bit x86_64):
# rpm -Uvh http://download.fedoraproject.org/pub/epel/6/x86_64/epel-release-6-8.noarch.rpm[/code]
[code]CentOS/RHEL 5, 32 Bit (i386):
# rpm -Uvh http://dl.fedoraproject.org/pub/epel/5/i386/epel-release-5-4.noarch.rpm[/code]
[code]CentOS/RHEL 5, 64 Bit (x86_64):
# rpm -Uvh http://dl.fedoraproject.org/pub/epel/5/x86_64/epel-release-5-4.noarch.rpm[/code]
and after that
[code]yum -y install phpmyadmin mysql mysql-server php[/code]
restart the apache server
[code]service mysqld start && chkconfig mysqld on
service httpd restart[/code]
After this will set the rrot password for mysql db to enter from phpmyadmin. Type in terminal:
[code]mysql -u root
SET PASSWORD FOR ‘root’@’localhost’ = PASSWORD(‘new-password‘);
exit[/code]
After this restart the apache service
[code]service httpd restart[/code]
And with the root user and the new password you enter you should be able to enter on phpmyadmin. Now you have installed a webserver and a phpmyadmin to work with the database. The working directory where the files should be stored are in /var/www/ , here you can put your project or create subfolder on it if you have multi project.
Enjoy